How to Avoid Common Brake Fluid Line Replacement Mistakes?

Time:2026-11-18 Author:Mason
0%

Brake-fluid line replacement is a small repair with little room for guesswork. A mismatched fitting, poorly formed flare, or trapped air can leave the pedal soft and braking response unpredictable. What are common mistakes when replacing brake fluid lines? The answer often starts with rushing: copying the old line without checking its routing, mixing incompatible fittings, or tightening connections before confirming alignment.

Reliable sources help set the safety context. NHTSA’s 2023 Traffic Safety Facts report recorded 40,901 U.S. traffic fatalities that year. That figure is not specific to brake-line failures, but it shows why brake-system work deserves careful verification. NHTSA’s Federal Motor Vehicle Safety Standard No. 106 sets performance requirements for brake hoses; rigid brake tubing is a different component, so the standard should not be mistaken for a complete repair guide. Vehicle-specific service information remains essential.

In this guide, we’ll examine practical checks: matching the correct tubing and fittings, preventing kinks near bends, keeping dirt and moisture out, and bleeding the system in the specified order. A neat-looking joint can still leak. That deserves a second look. Even careful installers can miss a subtle routing change or overlook a slow seep after the first pedal press. The goal is not merely to make the replacement fit. It is to verify secure connections, a firm pedal, and leak-free operation before the vehicle returns to the road.
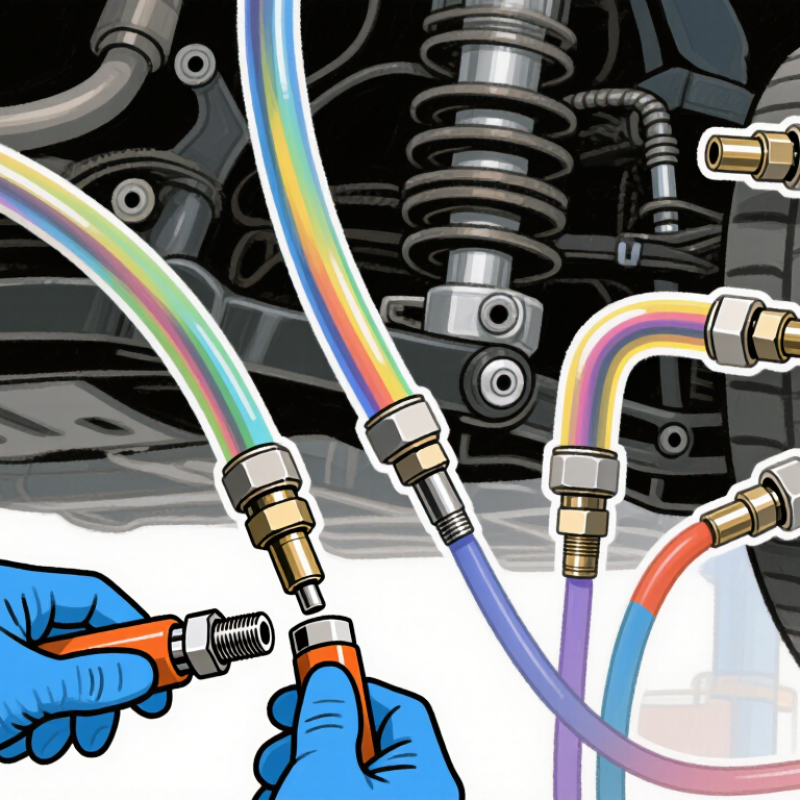
How to Avoid Common Brake Fluid Line Replacement Mistakes?

Identify the Correct Brake Fluid and Line Type Before Disassembly

Before loosening a brake line, confirm the fluid specification in the owner’s manual and on the reservoir cap. Do not identify fluid by color; it can darken with age. DOT 3, DOT 4, and DOT 5.1 are glycol-based, while DOT 5 is silicone-based and is not interchangeable with them. Small details matter. If the markings conflict or are unreadable, pause and verify the correct specification through reliable service information.

Identify the line itself, too. Is it rigid metal tubing or a flexible hose? Check its diameter, fitting threads, flare shape, and routing before removing anything. Similar-looking fittings can seal differently, and a wrong match may leak under pressure. A quick photo beside the connection can help, though it is easy to miss a bracket or bend in a rushed shot. Keep dirt and moisture out of open connections, and use only fluid and replacement components specified for the vehicle. I would not rely on appearance alone; brake systems leave little room for guesswork.

Check Flare Geometry Against SAE J533 Before Connecting New Lines

Before connecting a replacement brake line, identify the flare specified in the vehicle’s service information. Compare it with the applicable SAE J533 geometry and dimensions. A 45-degree double flare and an ISO bubble flare can look similar at a glance, but they are not interchangeable. Close is not enough. Check the required flare type, not just the tube’s outside diameter.

Use a suitable flare gauge and inspect the finished end under bright light. The flare should sit evenly around the tube, with no cracks, folded edges, or visible burrs. Check that the fitting nut slides freely and that the flare meets its seat without force. A neat-looking flare can still be the wrong shape; that is an easy detail to overlook when a repair is rushed. Never use the nut to pull a mismatched flare into place.

If the dimensions or shape do not match, remake the line with the correct tooling rather than tightening harder. Excess force can deform the flare or damage the fitting. Keep the new line free of twists and kinks as you connect it. Then follow the vehicle’s service procedure for bleeding and leak checks. A careful geometry check takes little time, but it can prevent a poor seal and a repeat repair.

Use FMVSS 116 Boiling-Point Minimums: DOT 3 205°C Dry, DOT 4 230°C

A brake line replacement can look straightforward, yet a small fluid mistake can compromise braking. Before opening the system, check the vehicle service information for the specified fluid class.

FMVSS No. 116 sets dry equilibrium reflux boiling-point minimums:

DOT 3 is 205°C
DOT 4 is 230°C

That difference matters.

These figures describe new, dry fluid under a standardized test; they do not guarantee the same boiling point after service. Brake fluid absorbs moisture over time, and moisture lowers its boiling point. A bottle left uncapped beside a damp workshop bench is not a harmless detail.

Use fresh fluid from a sealed container, and keep dirt, oil, and cleaning solvent away from fittings.

Do not choose DOT 4 solely because its minimum is higher. Use the class specified by the vehicle maker, and check that the reservoir cap and service information agree.

After fitting the line, bleed the system using the specified sequence. Inspect every joint for leaks and confirm a firm pedal before driving.

Do not rush this. If the pedal sinks or feels spongy, stop and diagnose the fault; a clean-looking connection can still admit air.

Route and Secure Lines to Prevent Chafing, Kinks, and Heat Damage

When replacing brake fluid lines, proper routing and securing are crucial. Start by examining the existing setup. Take note of the original line paths. Ensure new lines follow a similar route to minimize adjustments. Poor routing can lead to chafing against sharp edges or friction points. This can cause leaks over time, leading to potential brake failure.

Securing the lines is equally important. Use appropriate clamps or brackets, spaced adequately to prevent movement. If lines are not secured firmly, they may experience kinks. Kinks create pressure spots that can compromise the line’s integrity and disrupt the brake function. Heat damage is another risk. Lines too close to hot components can deteriorate quickly. Use heat shields or insulators when necessary.

There are common mistakes to avoid. Over-tightening clamps can crimp the lines. Conversely, leaving them too loose can allow excess movement. Inspect regularly after installation. Look for signs of wear and tear, such as abrasions or discoloration. Failing to address these issues early can lead to costly repairs and unsafe driving conditions. Taking the time to route and secure brake fluid lines correctly will ensure a safer and more reliable braking system.

Bleed the System and Verify Firm Pedal Feel and Leak-Free Connections

After replacing a brake line, bleeding is not complete just because fluid runs clear. Follow the vehicle maker’s specified wheel sequence and procedure; trapped air can leave the pedal springy. Keep the reservoir above its minimum mark throughout, and use fresh fluid from a sealed container. A small pause helps. Check the bleeder screw, flare fittings, and hose junctions with a light; even a fine wet ring can signal a leak. Wipe each connection dry, then press and hold the pedal while inspecting again.

Verify the fluid specification on the reservoir cap or service information. U.S. Federal Motor Vehicle Safety Standard No. 116 sets minimum boiling points:

DOT 3 fluid must reach 205°C dry and 140°C wet;

DOT 4 must reach 230°C dry and 155°C wet.

These figures show why contaminated or incorrect fluid matters, though they do not confirm a successful repair. With the engine off, press the pedal several times, then hold steady pressure. It should feel firm and should not slowly sink. After starting the engine, a slight pedal drop can occur as the booster operates. Recheck for leaks after a cautious, low-speed test in a safe area. I would rather repeat the inspection than explain away a soft pedal.

FAQS

How can I identify the correct brake fluid?

Check the owner’s manual and reservoir cap. Do not identify fluid by color; it darkens with age. Do not guess.

Are DOT 3, DOT 4, DOT 5, and DOT 5.1 interchangeable?

No. DOT 3, DOT 4, and DOT 5.1 are glycol-based. DOT 5 is silicone-based and is not interchangeable with them.

What boiling-point minimums apply to DOT 3 and DOT 4?

Their dry minimums are 205°C for DOT 3 and 230°C for DOT 4. These figures describe new, dry fluid.

Should I choose DOT 4 because its boiling-point minimum is higher?

Not automatically. Use the fluid class specified for the vehicle, and check that the cap and service information agree.

What should I check before removing a brake line?

Identify whether it is rigid tubing or a flexible hose. Check its diameter, threads, flare shape, and routing.

Can a photo help me remember how the line was routed?

Yes, a photo beside the connection can help. It may still miss a bracket or bend. That happens.

How should I protect open brake connections?

Keep dirt and moisture out. Use fresh fluid from a sealed container, and keep oil and cleaning solvents away.

What should I check after replacing a brake line?

Bleed the system using the specified sequence. Inspect every joint for leaks, then confirm the pedal feels firm before driving. If it sinks or feels spongy, stop and diagnose the problem.

Conclusion

Replacing brake fluid lines safely starts with identifying the vehicle’s specified fluid and the correct line material, diameter, and fitting type before removing anything. Compare each new line’s flare geometry with the applicable SAE J533 specifications; mismatched flares can prevent a proper seal even when fittings appear to connect. Use fluid that meets the vehicle’s requirements, and check minimum dry boiling points: FMVSS 116 specifies 205°C for DOT 3 and 230°C for DOT 4.

What are common mistakes when replacing brake fluid lines? Choosing an incompatible fluid or line, forcing mismatched fittings, and routing lines where they can chafe, kink, or suffer heat damage are key examples. Secure lines along the intended path, then bleed the system according to the vehicle’s service procedure. Before driving, check every connection for leaks and confirm the brake pedal feels firm. If the pedal remains soft or a leak is present, do not operate the vehicle until the problem is corrected.

Mason

Mason

Mason is a seasoned marketing professional with a deep expertise in the company's offerings and a passion for driving brand awareness. With a strong background in digital marketing strategies, he has an innate ability to connect with diverse audiences and effectively communicate product benefits.......