How to check for air bubbles in coolant lines? This question matters wherever stable heat transfer protects engines, electronics, or battery packs. Air can interrupt coolant contact, create hot spots, increase pump noise, and distort temperature readings. The U.S. Department of Energy’s Vehicle Technologies Office repeatedly identifies thermal management as a key factor in vehicle efficiency, durability, and safety. SAE J20 coolant guidance also emphasizes fluid quality and compatibility, although it does not replace a practical bubble inspection.
A useful professional perspective comes from Dr. Ahmad Pesaran, a widely cited battery thermal-management researcher at the National Renewable Energy Laboratory. He has stated, “Thermal management is critical to battery life, safety, and performance.” That principle applies directly to coolant circuits. A small trapped pocket near a pump inlet may look harmless. It may not be. The system can become noisy, unevenly cooled, or difficult to bleed.
This guide examines five practical methods, including visual inspection, pressure testing, transparent-line observation, temperature comparison, and scan-tool monitoring. Each method reveals different clues. A flashlight may expose foam in an expansion tank. An infrared camera may show a sharp temperature difference across a hose. A pressure test may reveal a leak that continuously draws air inward. No single check is infallible. That is the uncomfortable part. Even an experienced technician can misread turbulence as trapped air. Careful testing, cold-system precautions, and manufacturer procedures remain essential for dependable results.
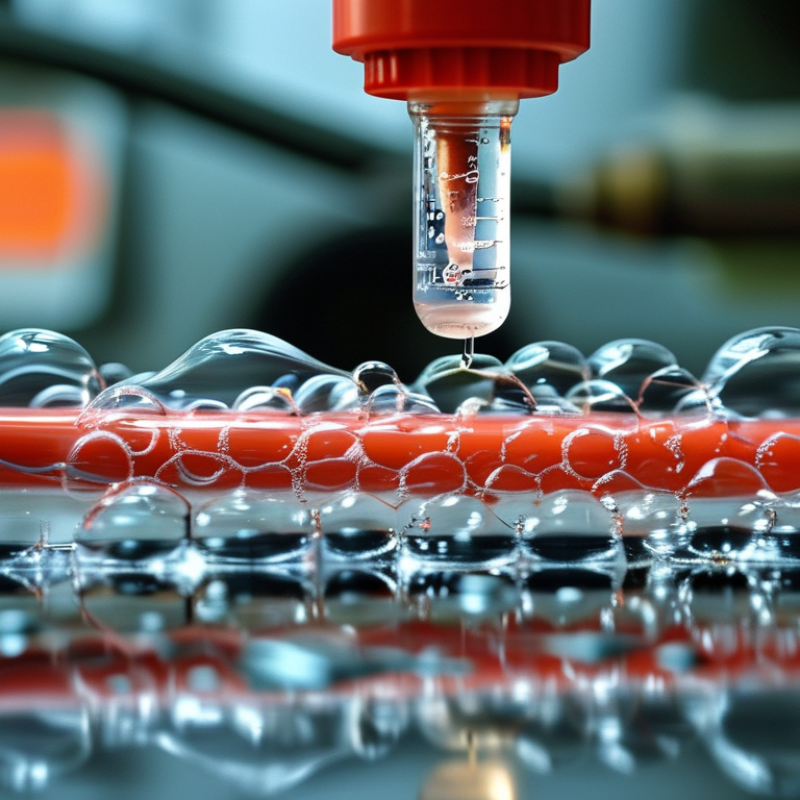
Inspect the coolant reservoir when the engine is completely cold. The fluid should sit near the marked level, without foam, froth, or moving pockets. Use a flashlight against the translucent tank. Small bubbles may cling to the plastic wall. Persistent bubbles are more concerning. They can indicate trapped air, a loose hose connection, or combustion gas entering the cooling system.
Never remove a hot cap. Pressurized coolant can cause severe burns.
SAE thermal-management studies report that air occupying part of a coolant passage can reduce heat-transfer performance by roughly 10%. The exact loss depends on flow speed and bubble size.
Tips: Start the engine only after checking the cold level. Watch the reservoir from a safe distance. A few bubbles during warm-up may be normal after service. Continuous bubbling is not. Touching hoses can help, but I would not rely on pressure alone. A firm hose does not prove the system is air-free. The temperature gauge may also remain normal while a small air pocket grows. That detail is easy to miss.
Record the coolant level before and after a short drive. Let the vehicle cool fully before comparing readings. A falling level needs further inspection. Look for damp hose joints, dried residue, or a sweet odor near the reservoir. Professional cooling-system inspection guidance recommends pressure testing when visible bubbles persist. The reservoir is useful evidence, but it cannot identify every internal leak. Testing the cap and system pressure may still be necessary.
A cooling system pressure test can reveal hidden air problems that a quick visual inspection often misses. Work only on a fully cool engine. Remove the radiator or expansion-tank cap, then attach a suitable pressure tester. The adapter must fit tightly, without forcing the filler neck.
Pump slowly to the pressure listed in the vehicle service information. Never exceed that limit. Watch the gauge for several minutes. A steady reading usually suggests the system is sealed, while a gradual drop may indicate a leak or trapped air moving through the circuit. Check hose joints, the thermostat housing, the radiator seams, and the heater connections. Small damp marks or dried coolant residue can be useful clues.
Listen carefully during the test. Gurgling near the dashboard or bubbling in the reservoir may point to air around the heater core. However, a pressure tester does not prove that air is present by itself. It mainly shows pressure loss and leak behavior. After releasing pressure, bleed the system according to its service procedure, then retest it when cool. I once treated a fluctuating gauge as a faulty sensor, but air trapped near the sensor caused the unstable reading. That mistake was avoidable. Temperature changes, an incorrect adapter, or a weak tester seal can also mislead your diagnosis. Record the starting pressure and timing. Small details matter.
Watch the coolant during engine warm-up. A healthy system usually shows little movement at first. As the thermostat opens, flow should become steady. SAE thermal-management literature commonly places passenger-engine coolant operation near 90–105°C. Use an infrared thermometer or scan tool to track this rise. A sudden temperature jump needs attention.
Try five checks. Start with a cold engine and inspect the expansion tank for repeated bubbles. A few bubbles after service may be normal. Continuous bubbling is not. Feel the upper hose carefully as temperature increases. It should firm gradually, not pulse sharply. Check cabin heat at idle, then at about 2,000 rpm. Cold air during warm-up can indicate trapped air. Watch for uneven temperature readings across the radiator. Finally, use the approved bleeding point, if available, and observe whether air escapes before coolant flows.
Industry service data repeatedly links poor bleeding with overheating complaints, while SAE test procedures stress stable temperature readings during warm-up. Do not trust the dashboard gauge alone. It may remain centered across a wide temperature range. I have misread that signal before. A scan tool gives better evidence. After cooling completely, recheck the reservoir level and inspect for fresh residue around hose joints. Never open a hot pressurized cap. That small mistake can cause serious burns.
| Check Method | When to Perform It | What to Observe | Normal Indication | Possible Air-Bubble Indication | Recommended Follow-Up |
|---|---|---|---|---|---|
| 1. Watch Coolant Circulation During Warm-Up | From a cold engine until the thermostat opens, while following the vehicle safety procedure. | Observe coolant movement in the expansion tank or radiator only when the system design allows safe visual inspection. | Steady flow after warm-up Flow may be limited before the thermostat opens. |
Intermittent surges, repeated burps, or frothy movement after the engine has warmed up. | Allow the engine to cool completely. Check the coolant level and follow the specified air-bleeding procedure. |
| 2. Check Heater Performance | With the engine warmed to its normal operating range and the cabin heater set to maximum heat. | Compare the temperature and consistency of the air from the heater vents. | Stable, consistently warm air at a steady engine temperature. | Gurgling sounds or alternating hot and cool air despite a warm engine. | Inspect the coolant level and look for trapped air, restricted heater flow, or a cooling-system fault. |
| 3. Feel for Uneven Hose Temperature | After warm-up, using extreme caution and avoiding belts, fans, pulleys, and hot surfaces. | Compare the upper and lower radiator hoses and accessible heater hoses without squeezing pressurized hoses. | Temperature changes are consistent with thermostat operation and coolant circulation. | A hose remains unexpectedly cool while the engine is hot, or temperature changes are irregular. | Do not open the cap while hot. After cooling, check the level, hose routing, thermostat operation, and possible restrictions. |
| 4. Inspect for Bubbles During a Cold-System Level Check | Only with the engine fully cold and the vehicle parked on a level surface. | Look for persistent bubbles, foam, or a coolant level that changes noticeably after repeated warm-up and cool-down cycles. | Coolant level remains within the specified range with no persistent bubbling. | Continuous bubbling from a cold start or recurring level loss may indicate trapped air or combustion-gas entry. | Check for external leaks. If bubbling continues, arrange a professional pressure test and combustion-gas test. |
| 5. Use a Cooling-System Pressure Test | With the engine cold, using the correct adapter and the pressure specified for the vehicle. | Monitor whether the system holds pressure and inspect hoses, connections, the radiator, the water pump area, and the reservoir. | Pressure remains stable within the test period and no coolant leakage is found. | Pressure drops without visible leakage, suggesting a hidden leak or possible internal coolant loss. | Repair confirmed leaks before bleeding the system. Never exceed the vehicle’s specified test pressure. |
| Warm-Up Reference | Throughout the observation period. | Monitor the temperature gauge or scan-tool data rather than relying on a single fixed temperature value. | Temperature rises gradually and stabilizes in the vehicle’s normal operating range. | Rapid overheating, repeated temperature swings, or a gauge that behaves unusually. | Stop the engine if overheating occurs. Allow it to cool and diagnose the cause before driving again. |
| Safety Note | Before opening any pressurized component. | Confirm that the engine and coolant are fully cool. | Cold system, protective gloves and eye protection used. | Steam, hissing, or a hot pressurized cap. | Never remove a radiator or expansion-tank cap from a hot system. Follow the service instructions for the specific vehicle. |
Checking for air bubbles in coolant lines starts with a safe, cold engine. Never remove a pressurized cap while the engine is hot. I place the vehicle on level ground and inspect the reservoir, hoses, clamps, and bleed points for dried coolant marks. A small flashlight helps reveal bubbles that hide behind the tank walls.
I refill the system with the correct coolant mixture, then open the approved bleed screw if the service instructions allow it. With the heater set to maximum, I start the engine and watch the reservoir closely. Escaping bubbles may appear as small silver beads at first. I gently squeeze the upper hose several times, but I avoid excessive pressure. The coolant level can drop as trapped air moves out, so I add fluid slowly.
The process is complete when bubbles stop, the heater blows steadily warm air, and the temperature gauge remains stable. I also check the hose for unusual swelling after a short test drive. One mistake I made was judging the system too quickly. A quiet reservoir does not always mean every pocket has cleared. Persistent bubbling, a sweet smell, repeated fluid loss, or overheating needs professional pressure testing. These signs can point to a leak or a deeper cooling-system fault, not merely trapped air.
After refilling a cooling system, visible bubbles are only one clue. A stronger check combines temperature readings with actual system performance. Work on a fully cooled engine and follow the vehicle service procedure. Never remove a pressurized cap while the engine is hot. Start the system and watch the reservoir, if safe observation is possible. Small bubbles may appear during initial circulation. Continuous bubbling needs attention.
Use an infrared thermometer to compare the inlet and outlet hoses after warm-up. They should show a sensible temperature difference, not a sudden, unexplained swing. Check several points, including the radiator, thermostat housing, and heater hoses. A heater blowing cold air while the temperature gauge rises can indicate trapped air. Gurgling behind the dashboard, fluctuating temperatures, or unusual pump noise can provide more clues. Let the system reach normal operating temperature, then confirm the cooling fan cycles correctly.
After the engine cools completely, recheck the coolant level. A small drop may follow air release, but repeated loss suggests a leak or another fault. Road-test carefully while monitoring the gauge and cabin heat. Temperature should remain stable during idling, acceleration, and climbing. This check is not perfect. Thermostat problems can imitate air pockets, and a faulty gauge can mislead you. If readings conflict, stop and diagnose the system before driving further. Record temperatures and symptoms. That simple habit often reveals patterns missed during a quick inspection.
Verify air removal through temperature and performance checks
The chart shows representative diagnostic results after a coolant refill. A smaller temperature difference between the inlet and outlet, together with stable coolant flow and normal heater performance, indicates that trapped air has been effectively removed. Always compare readings with the vehicle manufacturer’s service specifications.
: On a cold engine, coolant may show little movement initially. As the thermostat opens, circulation should become steadier. A sudden temperature jump needs attention. The gauge alone can mislead you.
Many passenger engines operate near 90–105°C. Measure the rise with an infrared thermometer or scan tool. Do not rely only on the dashboard needle.
A few bubbles may appear after refilling or servicing. Continuous bubbling is not normal. It may suggest trapped air or another cooling-system fault. Observe the tank only when safe.
It should become firm gradually as pressure builds. Sharp pulsing is unusual. Check it carefully without touching hot components. Do not squeeze a hot hose aggressively.
Cold air at idle may indicate trapped air. Compare cabin heat at idle and around 2,000 rpm. Gurgling behind the dashboard adds another clue. The heater may suddenly turn warm.
Compare the inlet and outlet hose temperatures after warm-up. They should show a sensible difference. Check the radiator, thermostat housing, and heater hoses. An unexplained temperature swing needs diagnosis.
The cooling fan should cycle correctly. Temperature should remain stable during idling, acceleration, and climbing. Road-test carefully while watching the gauge and cabin heat. Stop if readings become inconsistent.
Yes. Let the engine cool completely first. A small level drop may follow air release. Repeated loss suggests a leak or another fault. Inspect hose joints for fresh residue. I have missed small patterns before.
How to check for air bubbles in coolant lines? Start by inspecting the coolant reservoir when the engine is completely cool. Visible pockets, frothy coolant, or an unusually low level may indicate trapped air. For hidden air, a cooling system pressure test can reveal pressure loss and help identify areas where air may be entering. As the engine warms up, observe coolant movement if the system design allows it, watching for irregular circulation, repeated surging, or bubbles returning to the reservoir.
Bleeding the cooling system is another effective step. Follow the vehicle’s recommended procedure, open the designated bleeding point if available, and monitor escaping air until the coolant flows smoothly. Afterward, confirm that the temperature remains stable, the heater produces consistent warm air, and engine performance is normal. These checks together provide a practical way to detect, remove, and verify the absence of air in coolant lines.
TerraForge Machinery